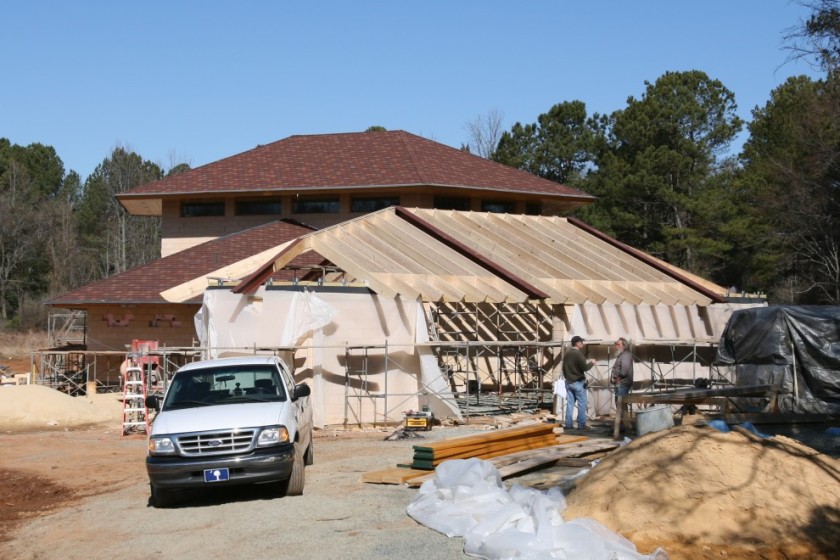
This week we crowned 14 courses of masonry with the framing of a roof:
That’s pretty exciting, considering that last week we had nothing up top, and three months ago the Annex was just some footings and a foundation.
Read on to see some of the details of our progress, starting with the installation of more than 8,500 lbs of steel…
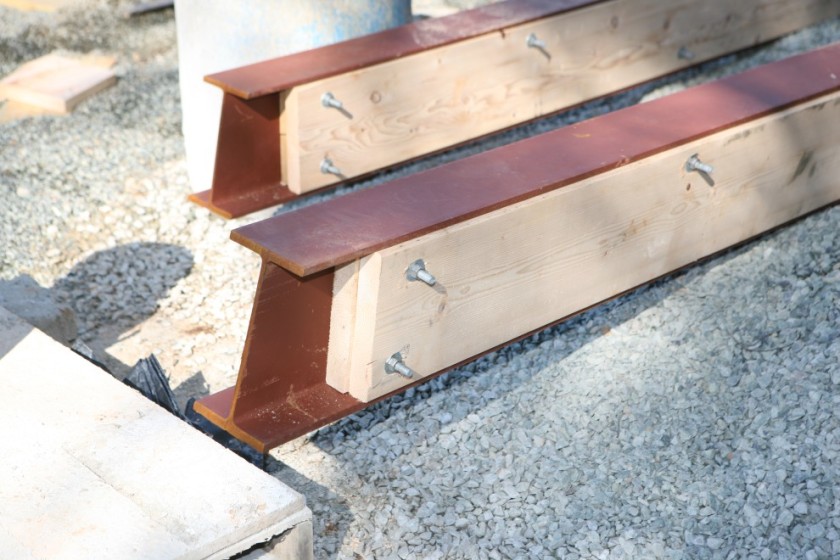
Last week’s photos introduced you to the assembly of the MASSIVE W10x77 steel beams that will span the full 31′ width of the Annex. This week we brought in a crane to put them up. Here they are enjoying a final bit of repose before being lifted up:
In all previous steel installations (spanning the Music Room and over the Control Room), the steel beam’s attachment points were established in concrete and installation was merely a matter of swinging these beams into position such that they could be bolted into place. In those cases the beam is safely held by the crane until it is locked into its permanent attachment points. When the crane lets go, the beam cannot go anywhere. But in this scenario, four of the five steel beams you see in the photo above make only half their connections to established concrete; the other half of their connections are to other steel beams. Moreover, the steel ridge beam (the straight 20′ length of W10x22 packed with wood in the middle of the photo) makes connections only with other steel beams. This means that the crane must let go of each beam before that beam is locked into place, except in the case of that ridge beam, in which case two other steel beams must remain balanced while it gets bolted to them. This is a much more dynamic and challenging situation than any that came before on this project. Here’s how we safely handled the installation sequence…
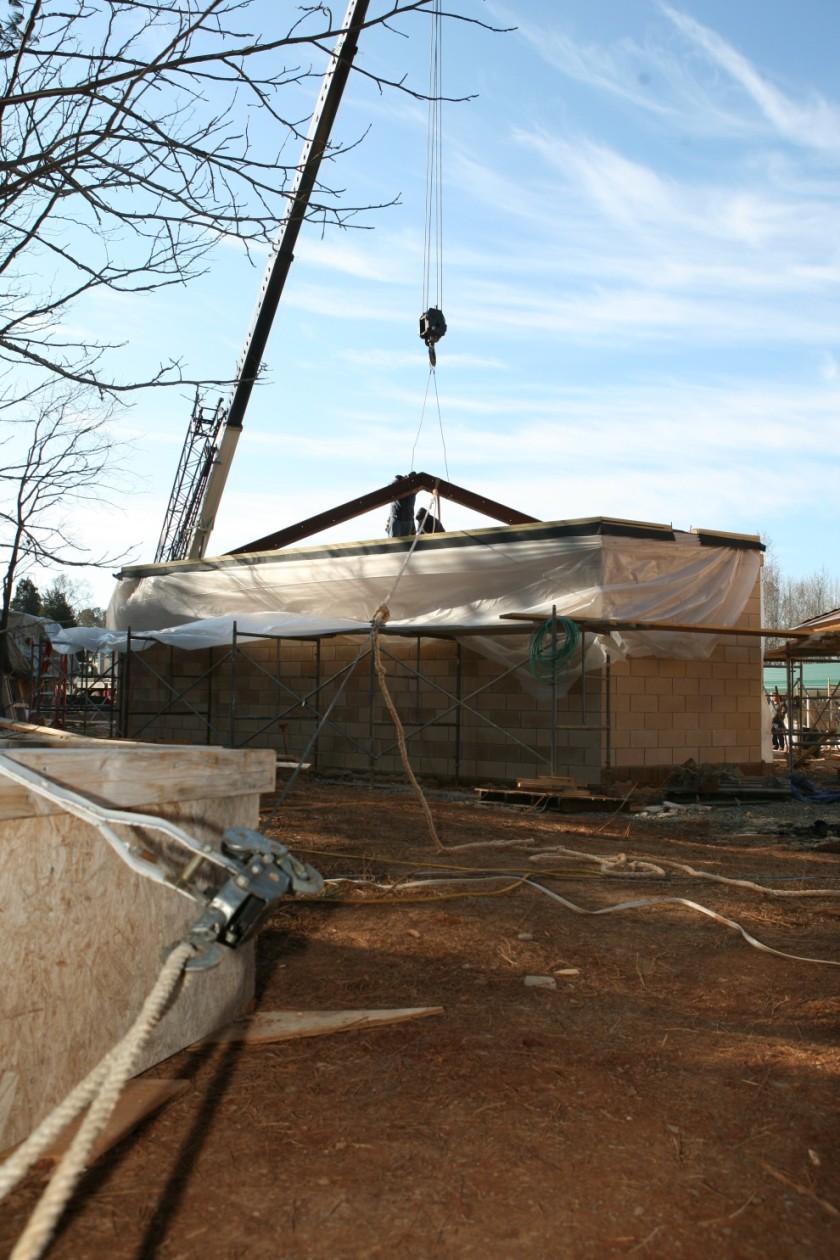
First we set up a scaffold from which the crane operator and all could be directed:
Two things you can notice in addition to the scaffolding is the heavy rope that goes out of the frame to the left and two pallets of blocks beyond the scaffold, in front of the lounge window voids. The heavy rope leads to another two pallets of blocks beyond the Annex to the north. The function of all these pallets is to act as anchors. When the huge W10x77 beams are swung into place, they will be tack welded at their bases, but they will also be secured from falling over by attaching to these anchors North and South. Here are the North anchors:
Previously I likened the process of setting the steel to flying a very large (and heavy) kite. This makes it look more like walking an extremely large dog:
Tension from the South is carefully checked as the crane lets go of the steel:
This is balanced by the tension from the North:
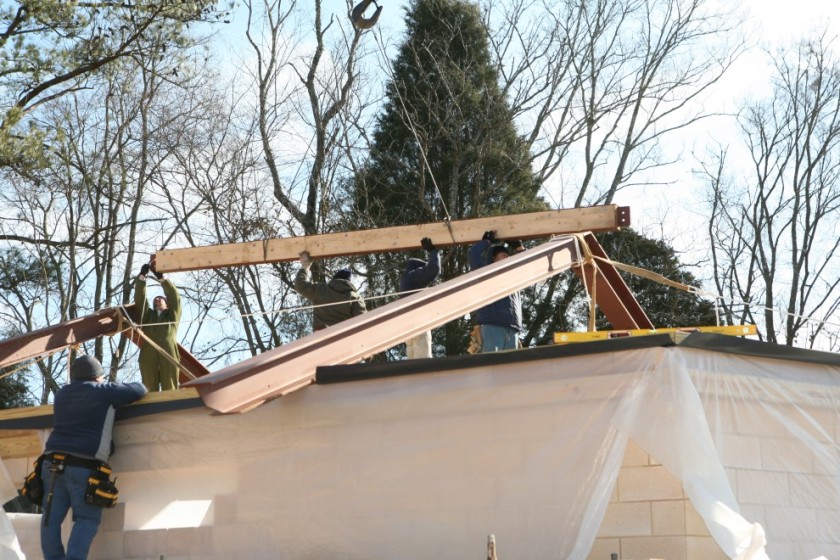
With one beam held firmly in tension, the second beam is swung into position:
And now, the move that determines success or failure: the guiding of the ridge beam into place:
Success! The ridge beam creates a 7,000 lb pup tent with enough structural stability that there is no longer any risk that the wind can knock it down:
The ridge beam is welded into place:
And then its time to place the final two steel members into position. Here is the edge which, when placed vertically, will give the bent steel its compound 5:24 + 5:12 pitch:
And this is where things start to get complicated. Here’s a part of the steel section drawing (Page A23 for the Annex):
What this section shows is that ideally, the W10x30 bent beam tucks right into the W10x77 after just removing a small piece of material from the bottom of the W10x30. However, that ideal condition is present only at the centerline of the beams, which is shown in the top section. Away from center, the W10x77 beam follows a 5:12 pitch down, and that conflicts with the flat profile of the W10x30 beam. So we have to remove some material:
And more material:
One last cut and we’re done…
Except now the beam is upside-down, so we need to flip it. In the process of flipping, something slipped. It only fell far enough to break the saw horse and nothing more serious:
“That’s 500 lbs!” somebody yelled as the sawhorse’s beam split in half. Actually the beam weighed closer to 1,000 lbs, but who’s counting?
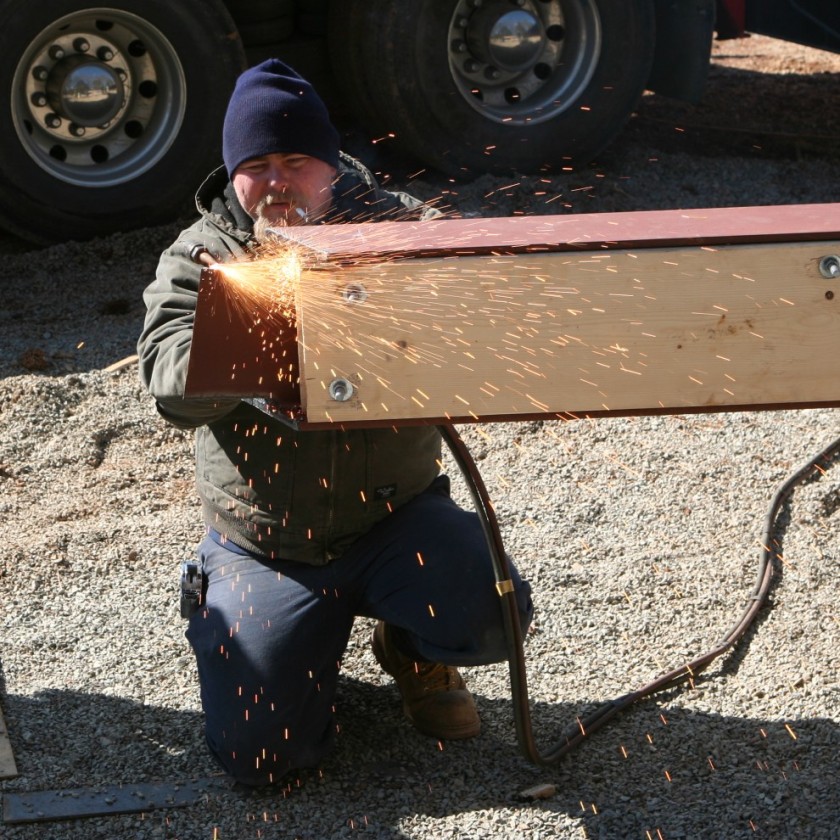
The beam is hoisted into place, and then the welder prepares his flame:
A flange is cut off to make room for the tongue of the bent steel beam:
And then everything is fitted and welded together:
Here’s a photo showing one of our large W10x77 beams resting across the steel beam across the garage entrance—steel on steel in repose:
The North bent steel beam gets its measurements double-checked:
Something’s wrong! Everything checks out except for one detail: the seat cut. The end of the beam should present a level face and instead it’s sloping up at about 12°! This sets off a merry chase to determine the source of the problem…
First we check center:
If that doesn’t look centered to you, you need to have your eyes checked! Seriously, it doesn’t look centered to anybody who is not up on the scaffold and able to see that the tongue of the bent steel beam is truly aligned with the center of the compound W10x77 beam. Really. All the other measurements check out, so we suspect something wrong (later confirmed) with how the foundry made the seat cut. Fortunately it was the only mistake we found, and it was easily corrected (see below). So we continued with the South bent beam, cutting it to fit:
Just a bit more off the top:
…and we’re ready for action:
And there you have it, a job well and safely done!
(And yes, the carpenter on the left still can’t believe the beam is properly aligned…but it is.)
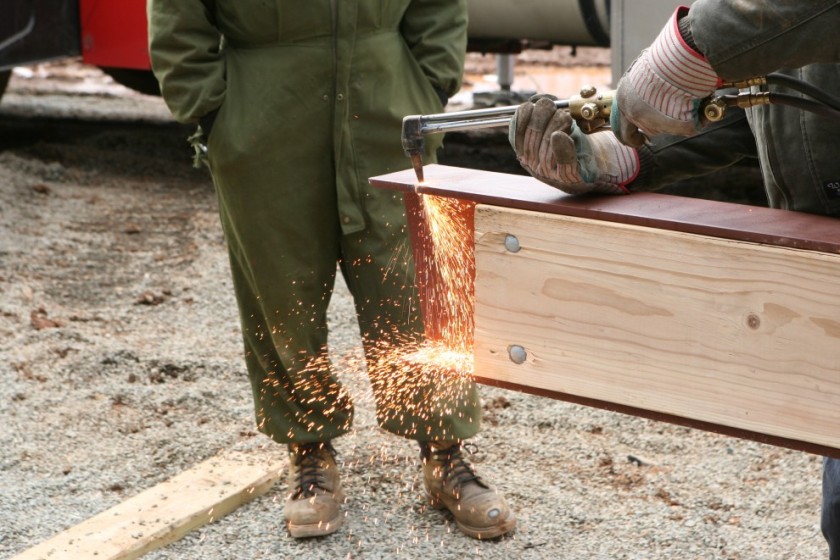
But that’s not the end of the story, nor even the whole story. While steel was being lifted outside, more steel was being cut inside:
The sparks are flying from 20ga steel furring, also known as “hat channel”. The hat channel hangs from our spring isolators and creates a matrix of attachment points for our gypsum sheetrock. Here’s some partial progress on the West side of the Music Room:
And the East side:
And a detail:
The wood 2x10s are spanning multiple hat channels to spread out the load of a lighting grid we will also be suspending from the ceiling.
Elsewhere, a service access is cut between the Utility Room and the attic over Booth C:
And the masons continued building up the interior walls, making progress on the masonry wall at the North end of Sound Lock 1:
And rebuilding part of the wall holding the door to the QR:
Now we finish with a report of the subsequent progress of the Annex roof framing. The roof framing materials were delivered in a single truckload:
In one short day, dozens of common rafters are up:
Here’s a viewpoint that gives some idea of the cathedral nature of the Annex roof:
Or perhaps this:
Here’s a view of the outside from the North:
Then rafters are attached to the bent beam:
And then the hips start to go in:
And that is this week’s progress report!


