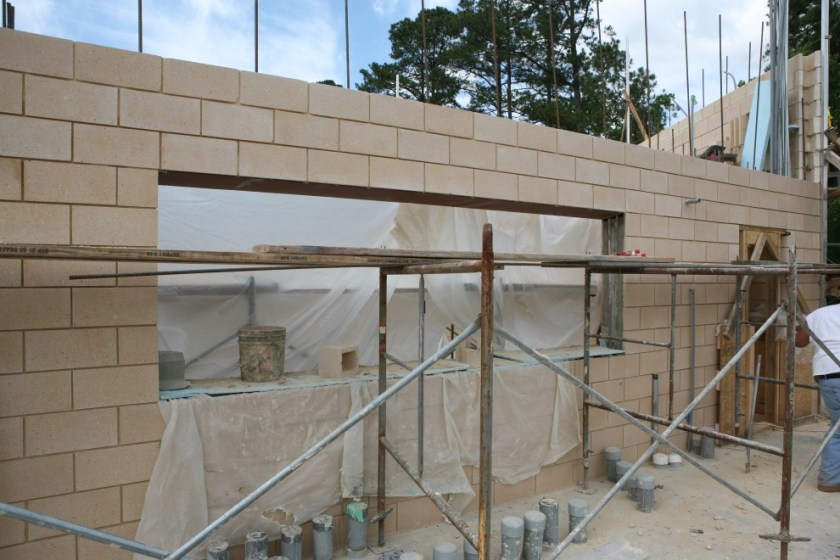
This week features the most complex masonry task thus far in the project: the integration of the massive steel beam into the South wall so that when it’s finished, you’ll never know it was even there.
But you might be interested to know how this all came to be…
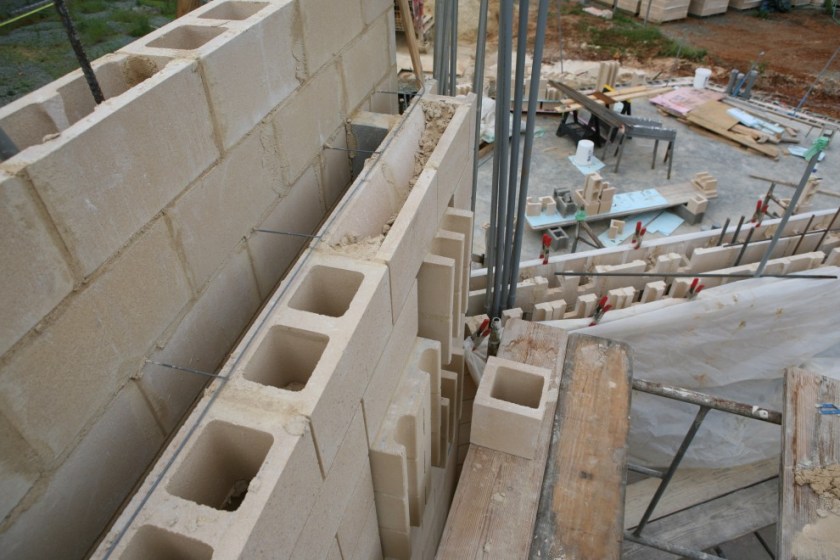
First, we had to lay up the bond beam from a plethora of cut blocks. You may recall from last week what the cut blocks looked like

When you multiply as many as 10 cuts per block times three dozen blocks, you get a lot of cutting! Here’s the pretty side of Monday’s effort:

And here’s what that looks like from the other side:

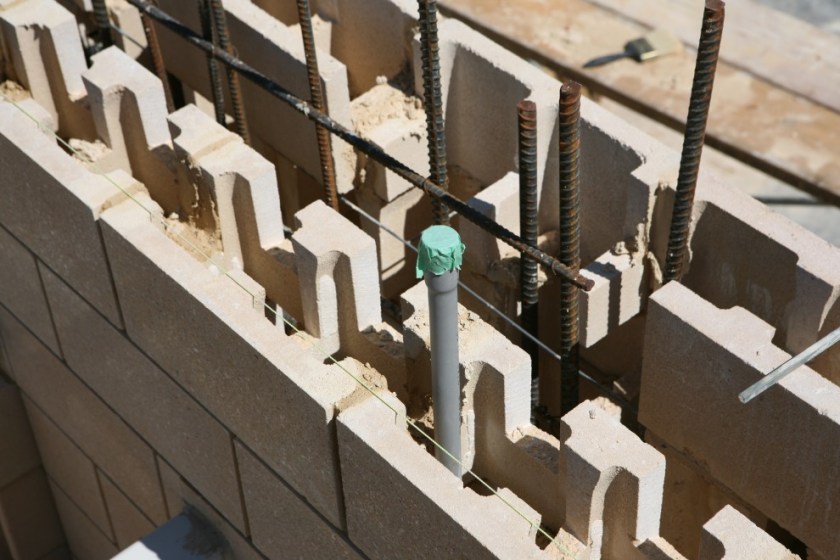
Again you can see the many pour-through holes cut into the block to ensure that when the beam is grouted, the whole thing becomes a single entity. We don’t want any cold joints in this beam!

And a slightly different angle on the other side:

Looking down the steel beam, you notice that we have two layers of #30 felt on the outside of the beam. (Normally one layer is considered heavy-duty for roofing jobs involving asphalt shingles.) Why the felt? When I struck the steel beam, it rang like a bell, and since a smart person once told me “the best way to control a problem is to never have the problem in the first place”, I figured that rather than depending on the concrete blocks to control the complex resonance of the steel beam, why not eliminate it. So we covered it in felt, and we also filled the beam with foam. After that treatment, the beam sounds like a 12″x12″ wooden post when you strike it. To quote another famous source: “This is not a problem!”

Here’s one more course laid in, with holes cut for the soffit steel:

And here’s a photo showing some just-in-time engineering. It was decided we should support some enhanced video camera functionality using the soffits as raceways for Power-over-Ethernet wiring, but we did not have a conduit defined for such a purpose. We called in the change literally as the blocks were going in. Here’s the pipe sitting where it’s about to be installed. Had it been part of the original plans, the block would have been cut to accommodate prior to laying:

And after making the accommodation:

The soffit steel is braced into position:

Lots and lots of cuts:

In detail:

And suddenly…it’s done! Or at least done as far as can be perceived by eye:

But of course, there is more to do…this puppy needs to be filled!

And it’s deep:
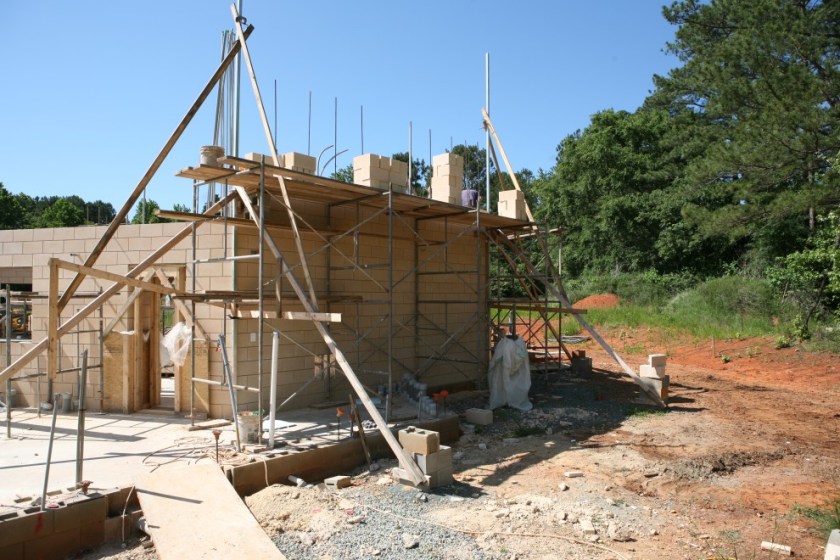
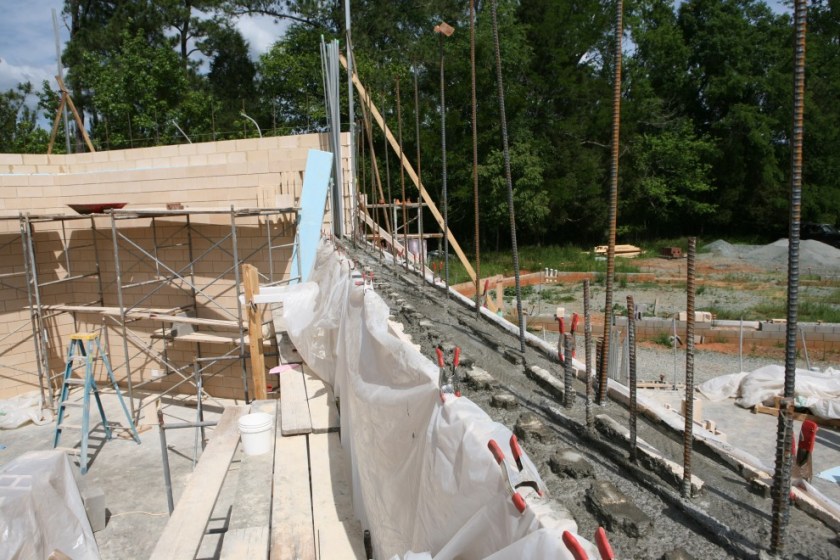
But we cannot be too hasty. After an earlier (and fully recovered blow-out situation), we’re giving our mortar at least a day and a half to dry. Which means that we have to find something else to do before we can pour the grout. It is decided to build up the East wall another several courses. Here the blocks are graded and positioned for the next day’s work:

And another set of blocks are positioned for the building’s exterior:
And suddenly…the wall is just a bit higher:

If you are counting, that’s the 22nd course, and rises to 14′-8″ high. Here’s the view from up there:
Note the use of bond beam blocks above the RPG B blocks. The bond beam blocks have a polished, solid bottom that looks good from below.
It’s really high from up there, and this is just the top of the second scaffold. There will be a third scaffold (at least) before we’re done:

Now we’re all ready to pour the grout:

Nothing can stop us now! Except…what’s this? A broken belt, and nothing in our size at the hardware store?
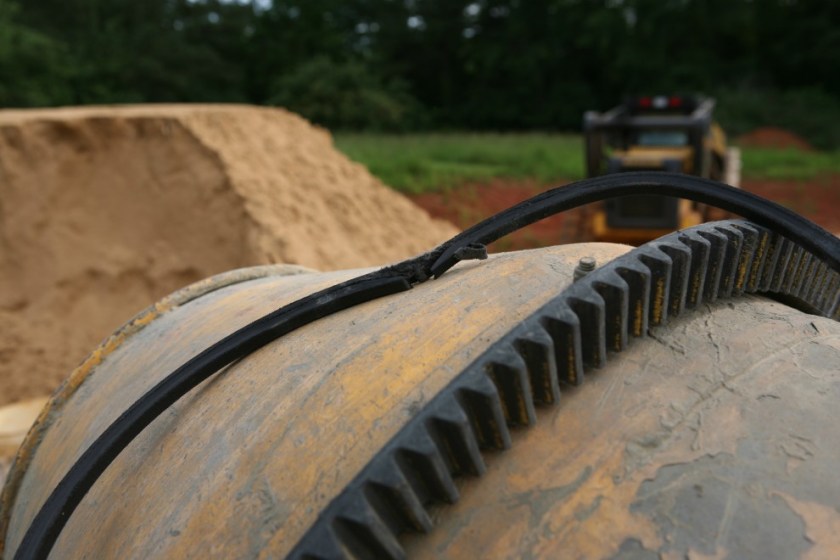
Nevermind! We bought two alternatives, one an inch too small, the other an inch too large, and figured we’d see which one worked best. The smaller one worked fine:
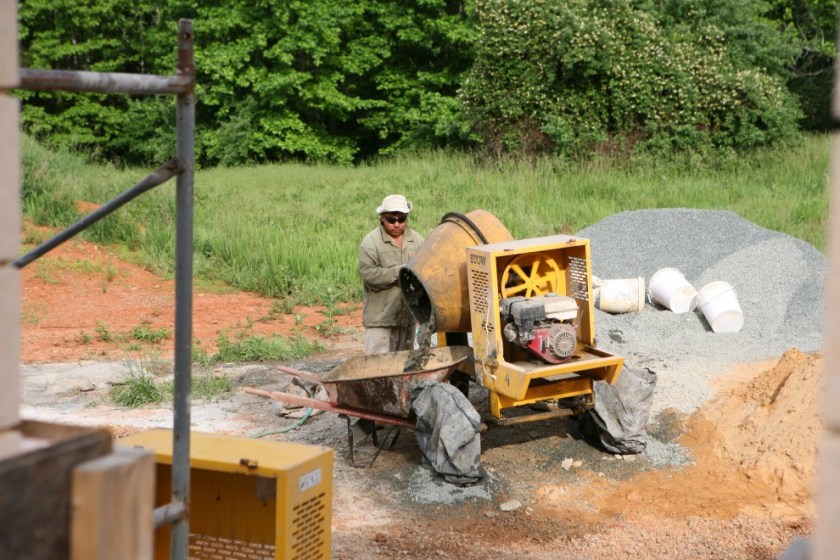
The first bucket is poured:

Later in the day the grout piles show another large bite taken out:

And a new bond beam sits for the cure:
That’s the update for this week! Stay tuned for a whole lotta blocks going up next week…weather permitting.
