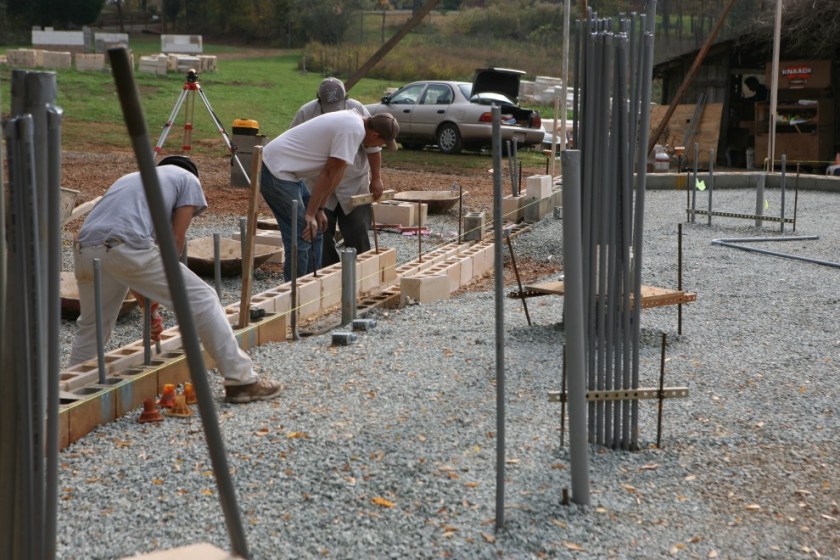
Last week we lost a good deal of construction time due to the remnants of Hurricane Ida. This week the storms were more local in nature, but just as harmful to our construction schedule, costing us a good three of our five working days. But that means we did manage to get two workdays in, and that was enough to begin bringing up the walls of the Annex. The story begins with a new set of storey poles (or, more precisely, the poles recycled from the construction of the main building, placed in new locations):

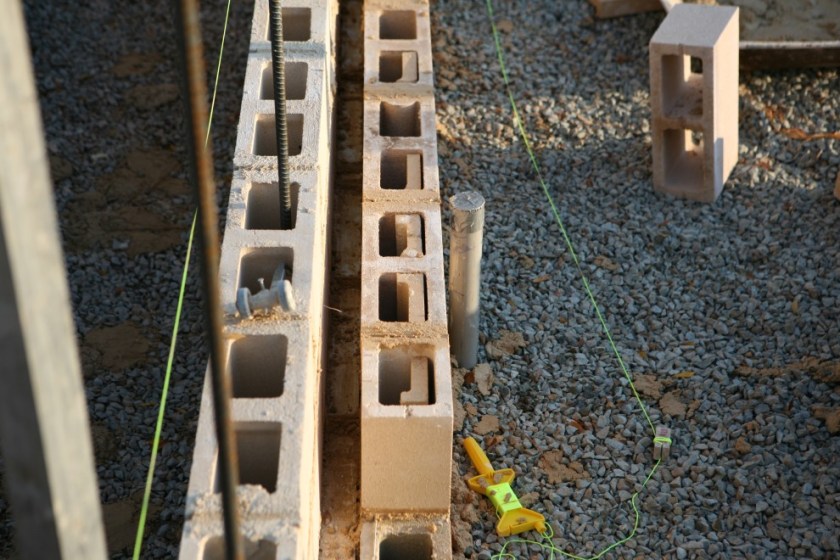
Looking a bit closer we see a good number of blocks positioned for laying and an increased amount of gravel fill packed down inside the perimeter of the foundation:

Most of those blocks are going to be used to finish the screed of the Annex. Here the Garage screed is being finished:
And here the six mortar trays provide some sense of what a production this is. This wall is 48 feet long, meaning it’s 72 blocks per course (for the inner and outer wythe):

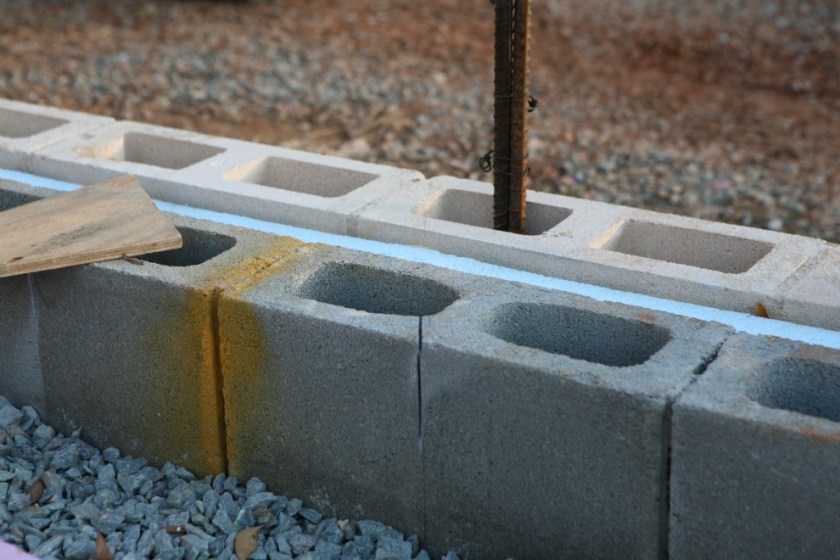
After getting the screed (re-)established, some additional prep work was required. The screed blocks were scored with grid lines so that later, when it’s time to put up walls, we will have an accurate reference of exactly where the transcendental math of √3 intersects the inner wythe:
And here’s what it looks like after two courses of blocks are in place:

Yes! Blocks are going up!!

To maximize the space inside the Annex control room we improvised the design of the inner wythe just a bit. We have 6″ blocks at the first course (which makes it easiest and best to run electrical conduits to a flush junction box), but then we step back 2″ and build the rest of the wythe with 4″ blocks. Except we don’t have enough 4″ blocks, so we cut 2″ off the 6″ blocks that we ordered. Here are some pictures of how it all works…
The first step is the 6″ first course. Inside these blocks are concrete stops (whose purpose will be explained a little bit later):
Then the freshly carved 4″ blocks are placed on the next course:
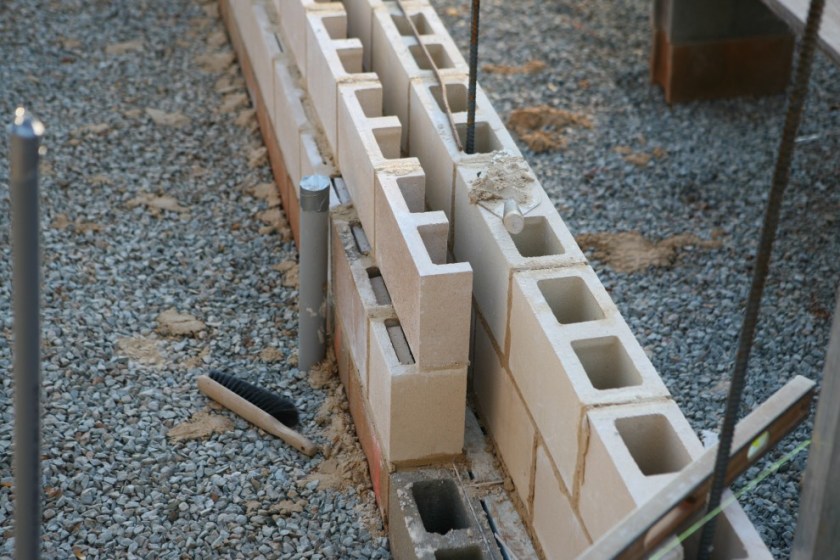
You can now see the role of the stops: they will stop the cement from flushing out the bottom of the second course when the inside of the blocks are filled with grout later in the process.
The modified control room walls are 17’4″ feet long:

And at the front of the control room we have space for a series of 10 RPG blocks, but none placed yet:

Finally, what this all adds up to is…the shape of things to come:

More as it happens…
